Cantonese-style bao
Unlike northern Chinese bao dough (which has a bit of chew), Cantonese bao dough is exceptionally fluffy, sweeter, and has very little chewiness — a result of using low-protein flour, more sugar, an alkaline dough, and western-style leavening agents.
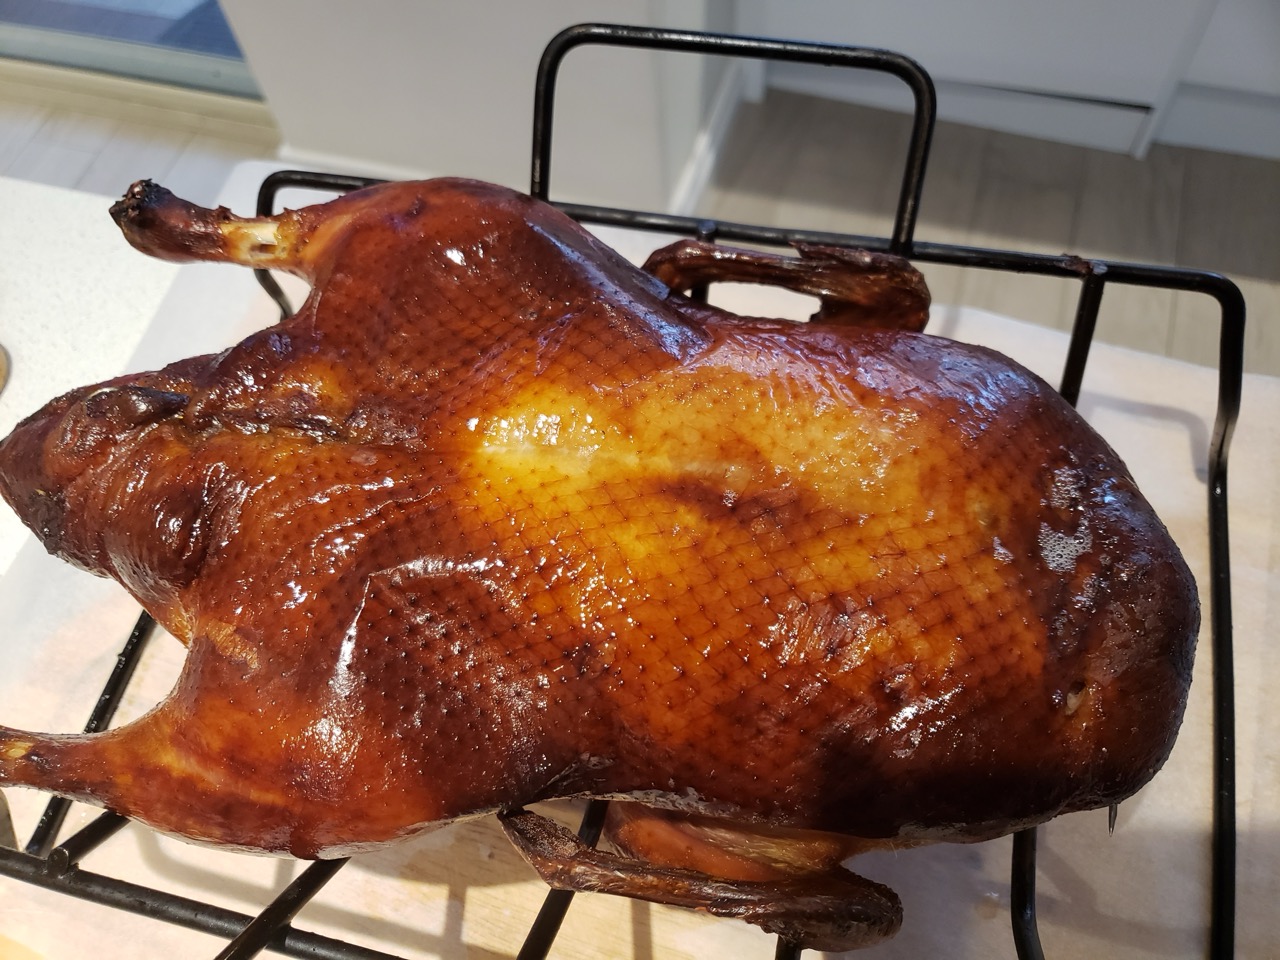
The following bao dough is adapted from the recipe for char siu bao from Yi Reservation, but can be used for any sweet or savoury filling, such as hoisin duck, or salted egg yolk.
Traditionally for char siu bao, ammonium bicarbonate is added to the dough, which results in the typical ‘smiling cracks’ look at the top of the bun. If you don’t have access to ammonium, use slightly more baking powder instead — you’ll most likely not see the ‘smiling cracks’ but the buns are equally tasty.
For cooking the bao, you have two options:
- Steaming them, seam side up, or
- Snow mountain bun style: Baking them, seam side down, with a cookie dough piped on top to give a sweet crunchy crust.
INGREDIENTS
Bao starter dough
- 200g cake flour1
- 115g milk
- 1 tbsp sugar
- 1 tsp (3.5g) instant yeast
Cantonese bao dough
- 315g starter dough
- 100g cake flour
- 80g sugar
- 20g water
- 10g butter
- 1/2 tsp baking powder
- 1/2 tsp ammonia bicarbonate (if not available, use 3/4 tsp baking powder above instead)
Filling
Typical fillings include cha siu, nai wong (custard), but you can get creative and and use hoisin duck, chocolate, kaya, etc.
{{filling_list}}
Snow mountain topping (optional)
- 75g unsalted butter (softened)
- 28g sugar
- 50g cake flour
- 1 egg lightly beaten or 6g vegetable oil
STEPS
-
Mix all the starter dough ingredients either by hand or by a mixer until a slightly wet dough is formed. Cover the dough with a plastic wrap and let it rise for 4-6 hours or leave in the fridge over night. The dough should at least double in size. If storing it in the fridge, bring the dough back to room temperature before making the sweet dough.
-
Combine the starter dough with 80g of sugar in a stand mixer. Knead the dough until the sugar is fully dissolved. You should notice that the dough is wetter and stickier.
-
Combine the cake flour, baking powder, ammonium if using in a bowl and sift to remove all the crumbs. Add sifted flour mixture and water to the dough in batches. Knead the dough to incorporate the dry and wet ingredients. When the dough forms a ball, add butter and let it knead for another 5 minutes or so. Once the dough is done, cover and let it rest for 20 minutes.
{{filling_step}}
For cooking, choose between steaming them, or baking them (‘snow mountain bun style’):
Steaming
- After filling, let the buns rest for 30 minutes and steam over high heat for 10 minutes. Once the heat is off, leave the lid on for additional 2 minutes before removing the lid and serving. These buns need to be served hot!
Topping and baking
-
Beat butter and sugar at low speed until combined. Adjust to high speed and beat until mixture is light and fluffy. If using egg, gradually beat in the lightly whipped egg to avoid curdling.
-
Remove bowl, add the cake flour and mix well. If not using an egg, now add in the oil and stir with a spatula until well combined. Add to a piping bag, and refrigerate until needed. Before using, remove from the fridge for 5-10 minutes or until at room temperature.
-
Preheat the oven to 180ºC, and bake for 15 minutes until golden brown.
NOTES
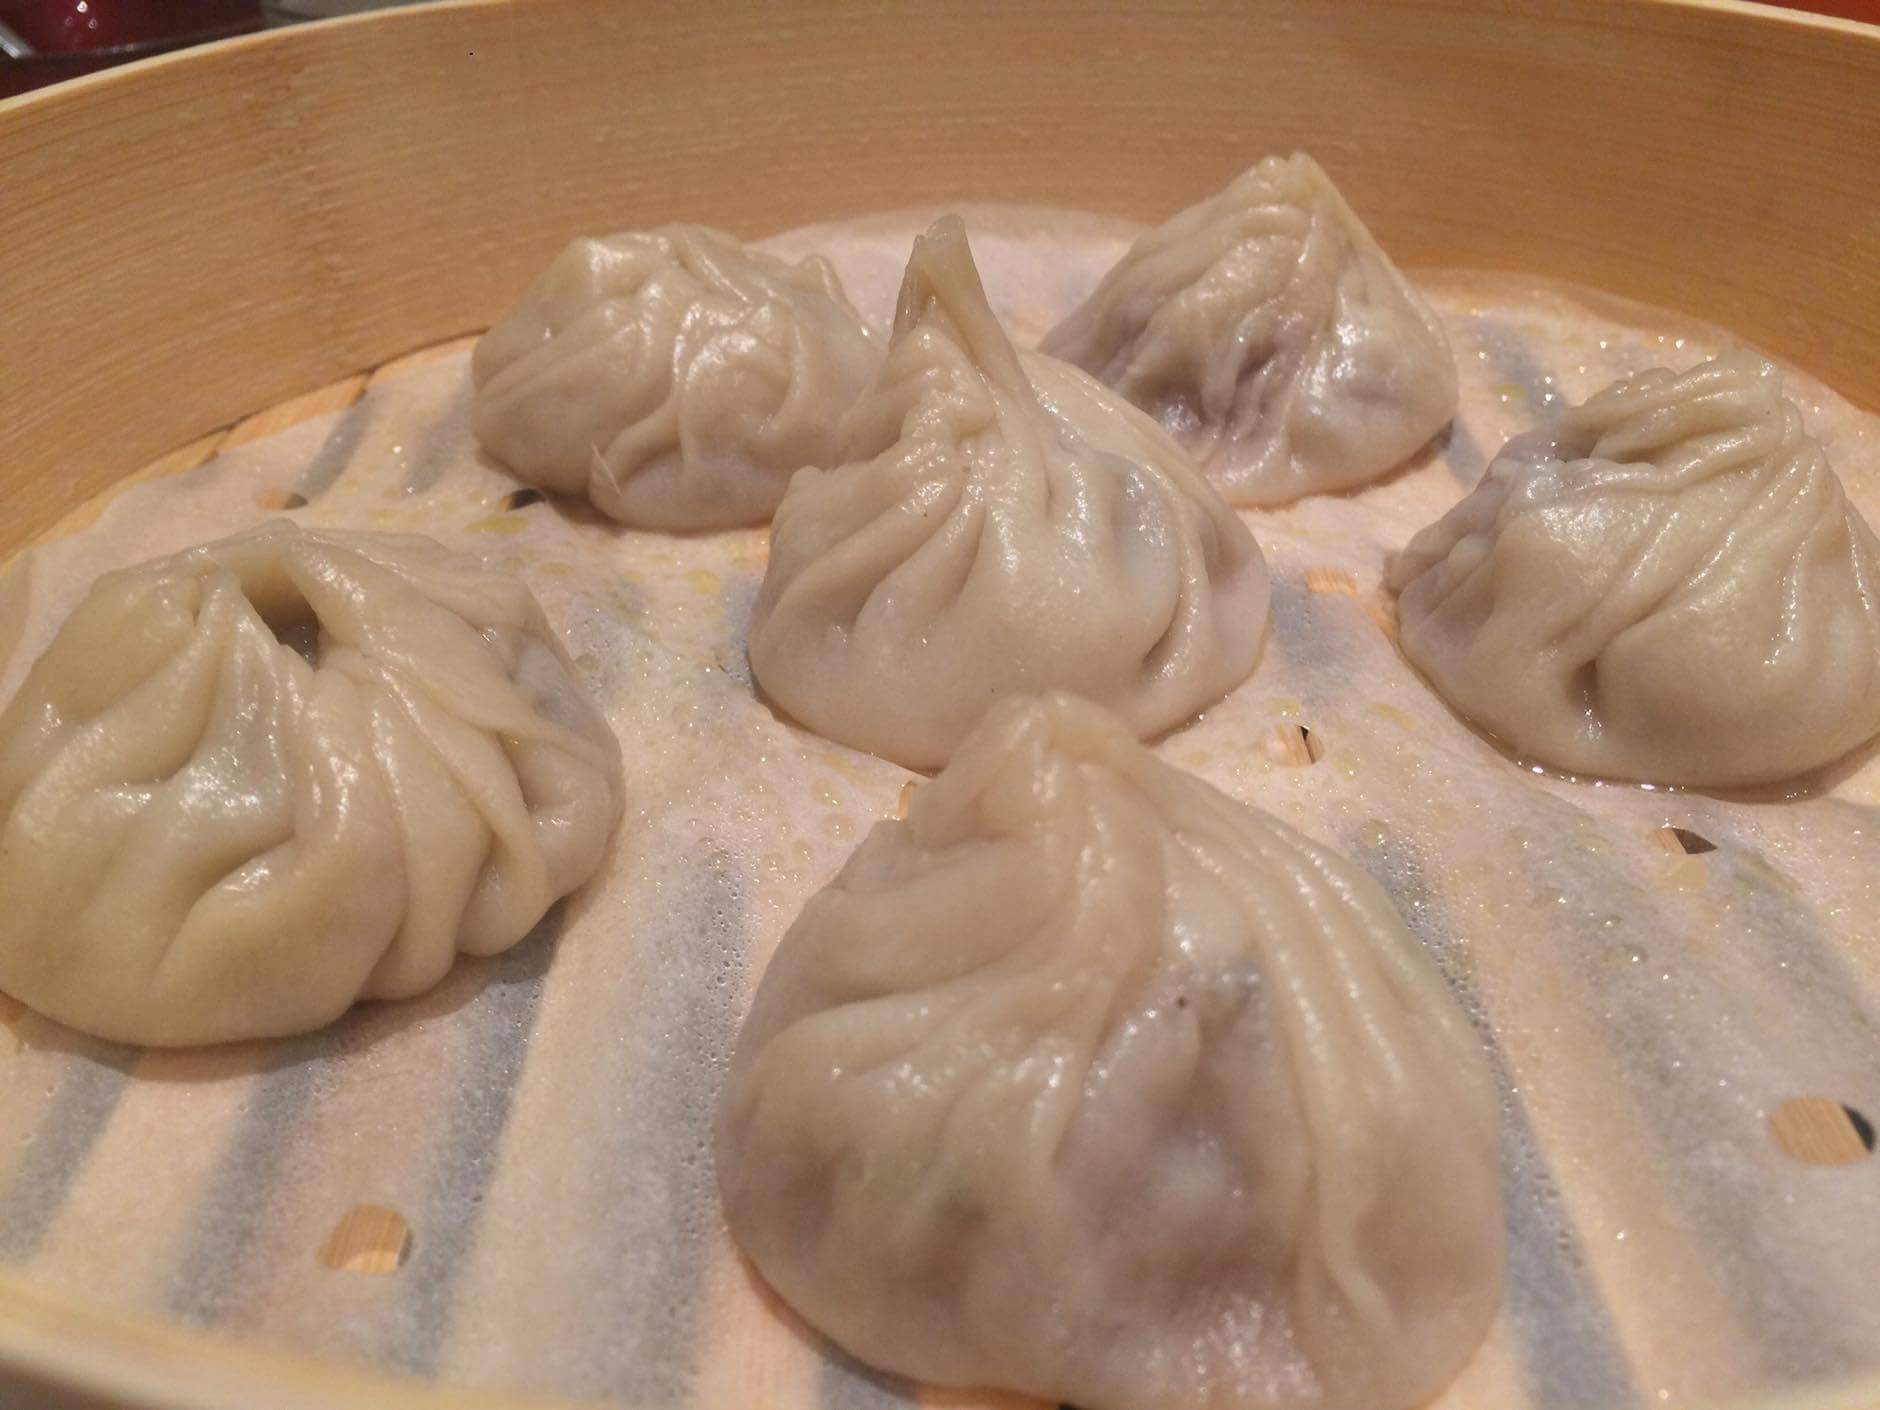
If you decide to steam the buns with ‘smiling cracks’, you do not need to make nice folds as you close the dough. Instead you just need to bring all sides together to enclose the bun. Make sure you have a nice amount of dough on top. Otherwise, simply close the bun like you would a soup dumpling.
To make your own cake flour, add 2 tbsp, about 14g, of cornflour for every 100g of flour. ↩︎