Handmade udon noodles
Udon is a thick, chewy, and salty Japanese wheat noodle, that is surpisingly easy to make at home (but does require a little bit of a workout). Unlike most other noodles, udon is made with a salt-water brine, which results in its unique texture and thickness. Udon is typically a 30% hydration noodle.
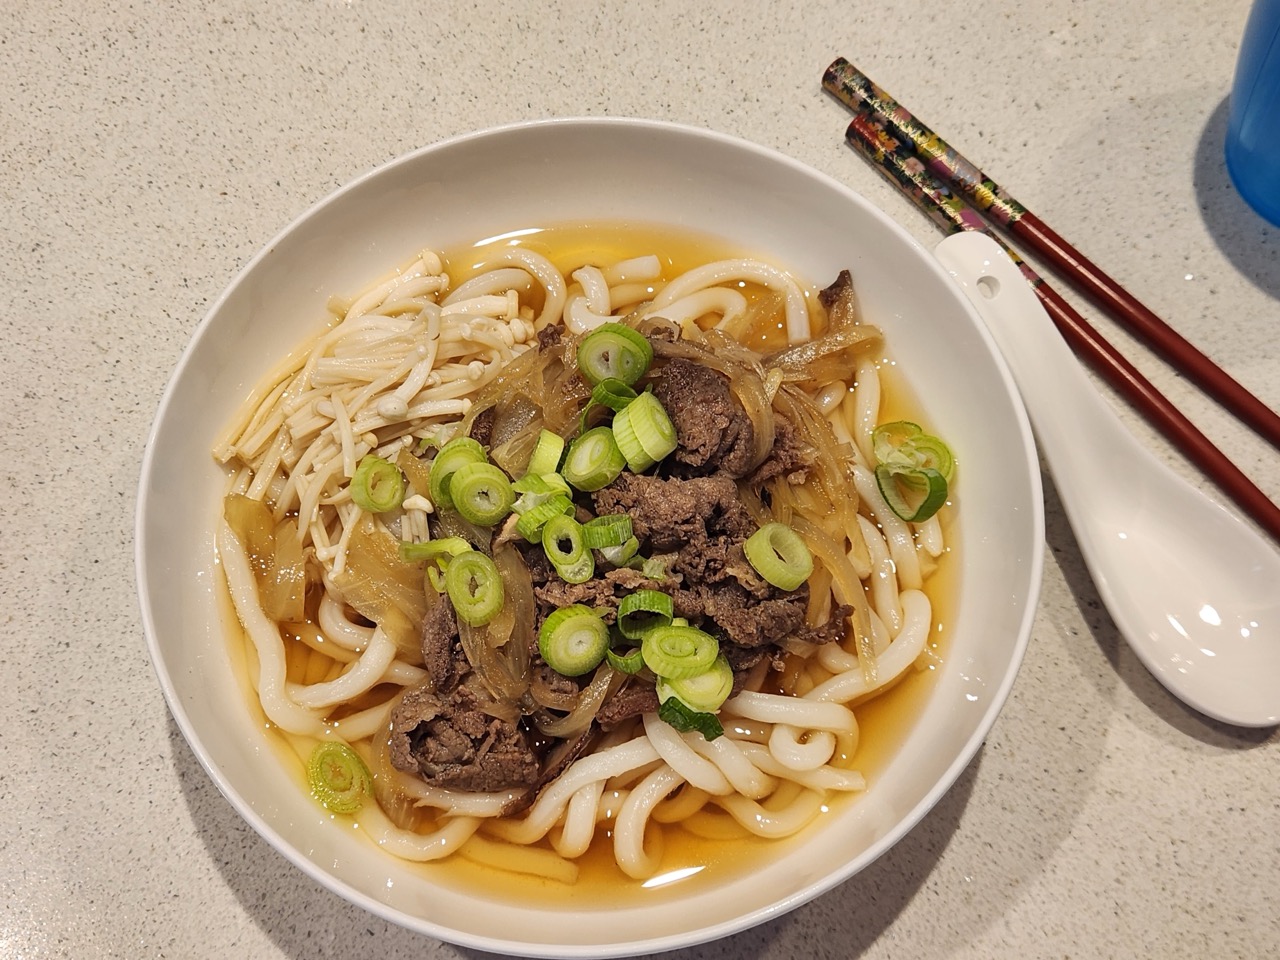
Use these udon noodles to make niku udon (Kaketsuyu (hot noodle soup)), yaki udon, or even mentaiko udon.
Cooking Schedule
INGREDIENTS
- 90ml water
- 10g salt
- 200g plain flour
- Potato or cornflour
STEPS
-
Mix the salt with the water until fully dissolved. Slowly pour the brine into the flour, constantly mixing with your hands in order to evenly hydrate the flour. Place the flour in a ziplock bag, seal, and rest for 30 minutes.
-
Knead the dough within the bag until it forms a dough. Then, place the bag on the floor(!) and stand on it until it fills the bag, applying pressure with your heels.
-
Remove it from the bag, fold it into thirds, and stand on it again and knead with your feet until it fills the bag. Repeat 5 times (about 15 minutes) or until the dough seems to come together smoothly (it is as soft as an ‘earlobe’). Rest for 2 hours (or up to 1 day/overnight in the fridge).
-
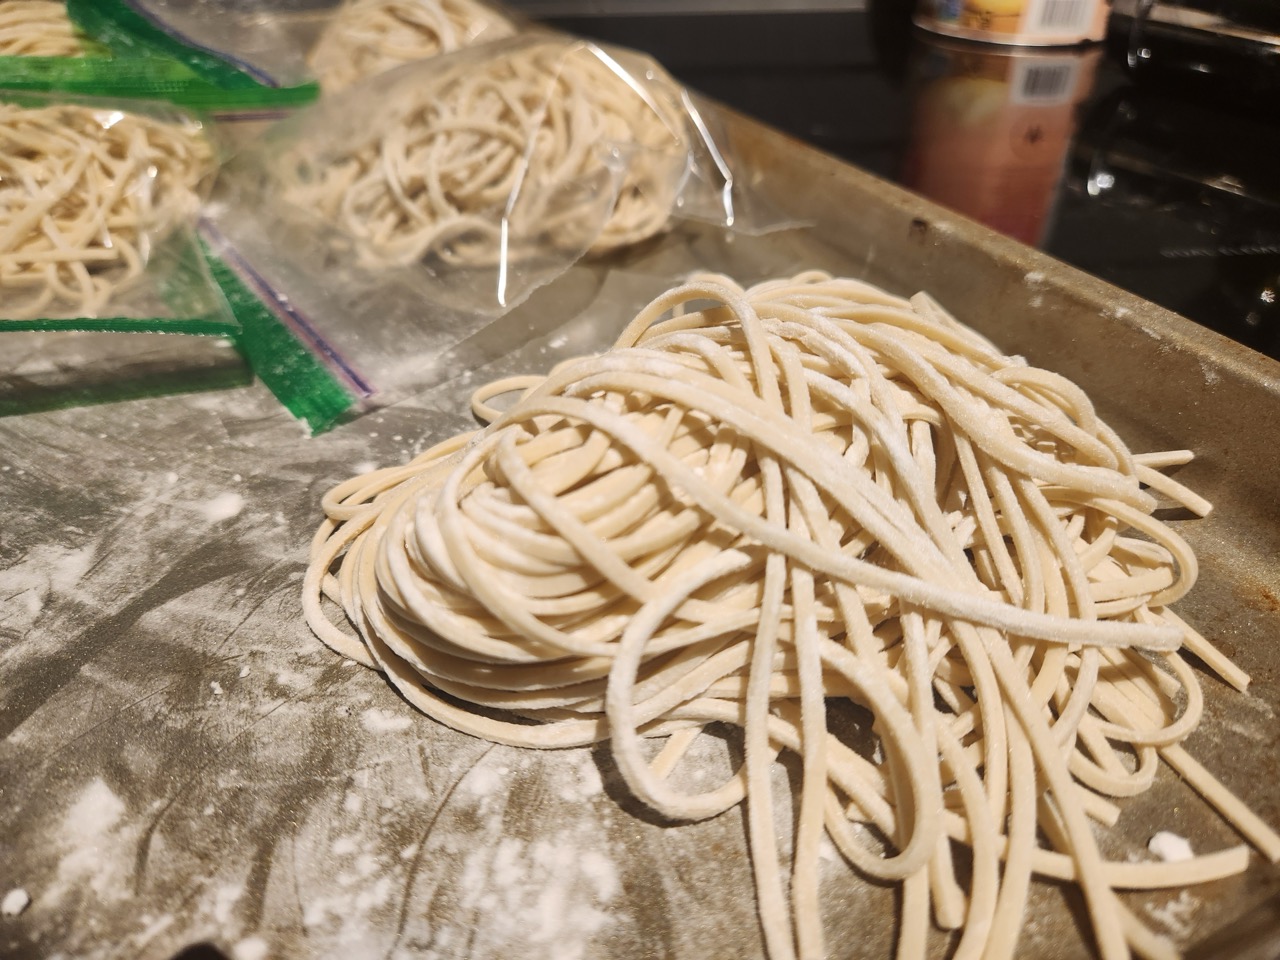
Using some flour or potato starch, roll out the dough until thin. Then, using a pasta machine, roll out the udon until setting 4 or 5, and then cut it with a fettucine attachment (about 3mm thick). Or, alternatively, to handcut the udon, roll out the udon until about 3mm thick and 10-12 inches long. Then, fold the dough in thirds (like an envelope), and cut into 3mm wide noodles.
-
To cook the udon, add them to (unsalted!) boiling water and cook for 10-12 minutes. Drain, and rinse under cold water.
NOTES
To store the uncooked udon, simply arrange them into nests and store in a ziplock bag in the fridge for 3-5 days, or in the freezer for up to 1 month.
To cook frozen udon noodles, add them to boiling water from frozen.