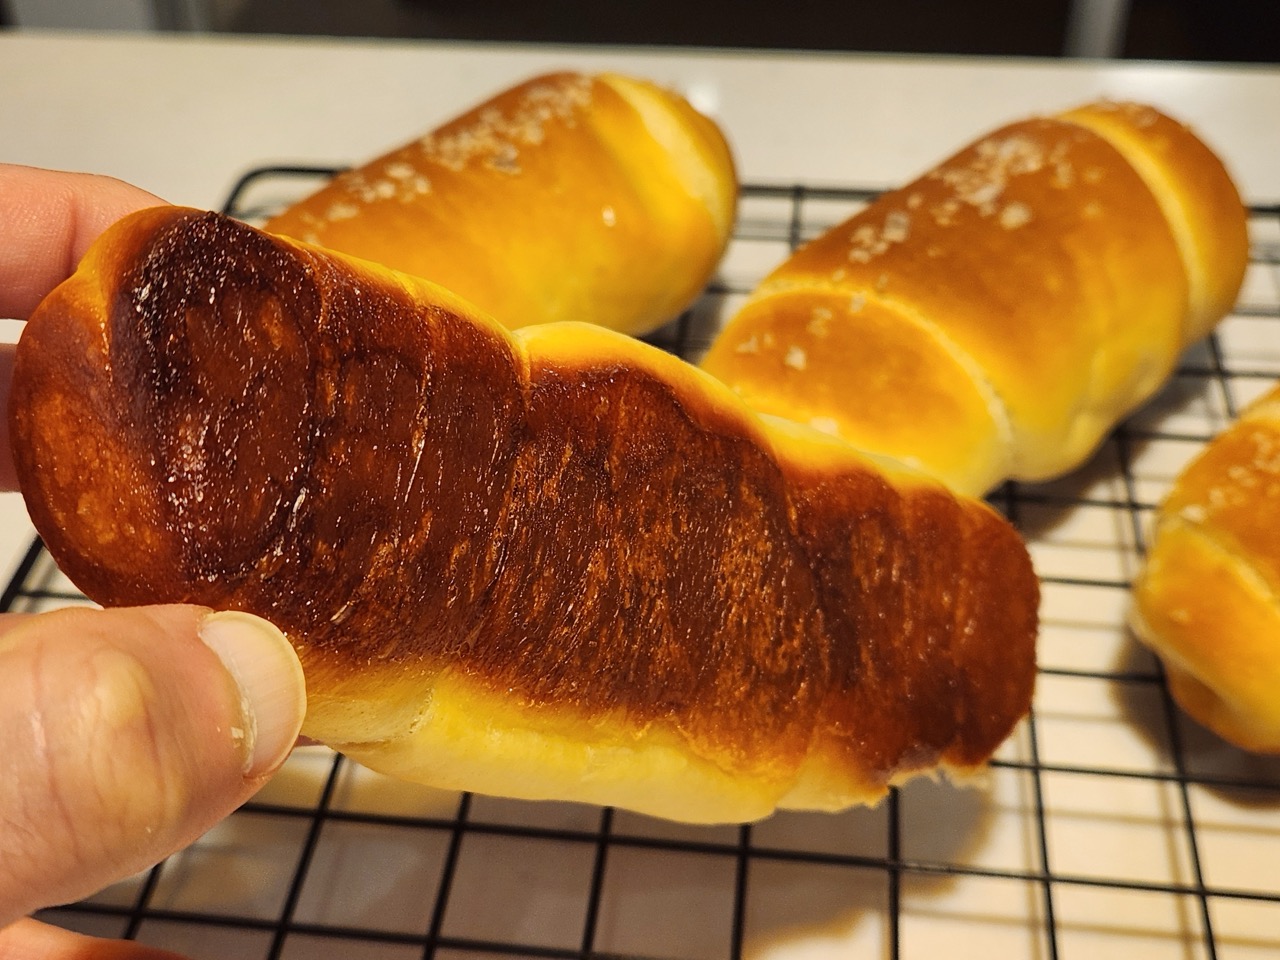
Shio pan
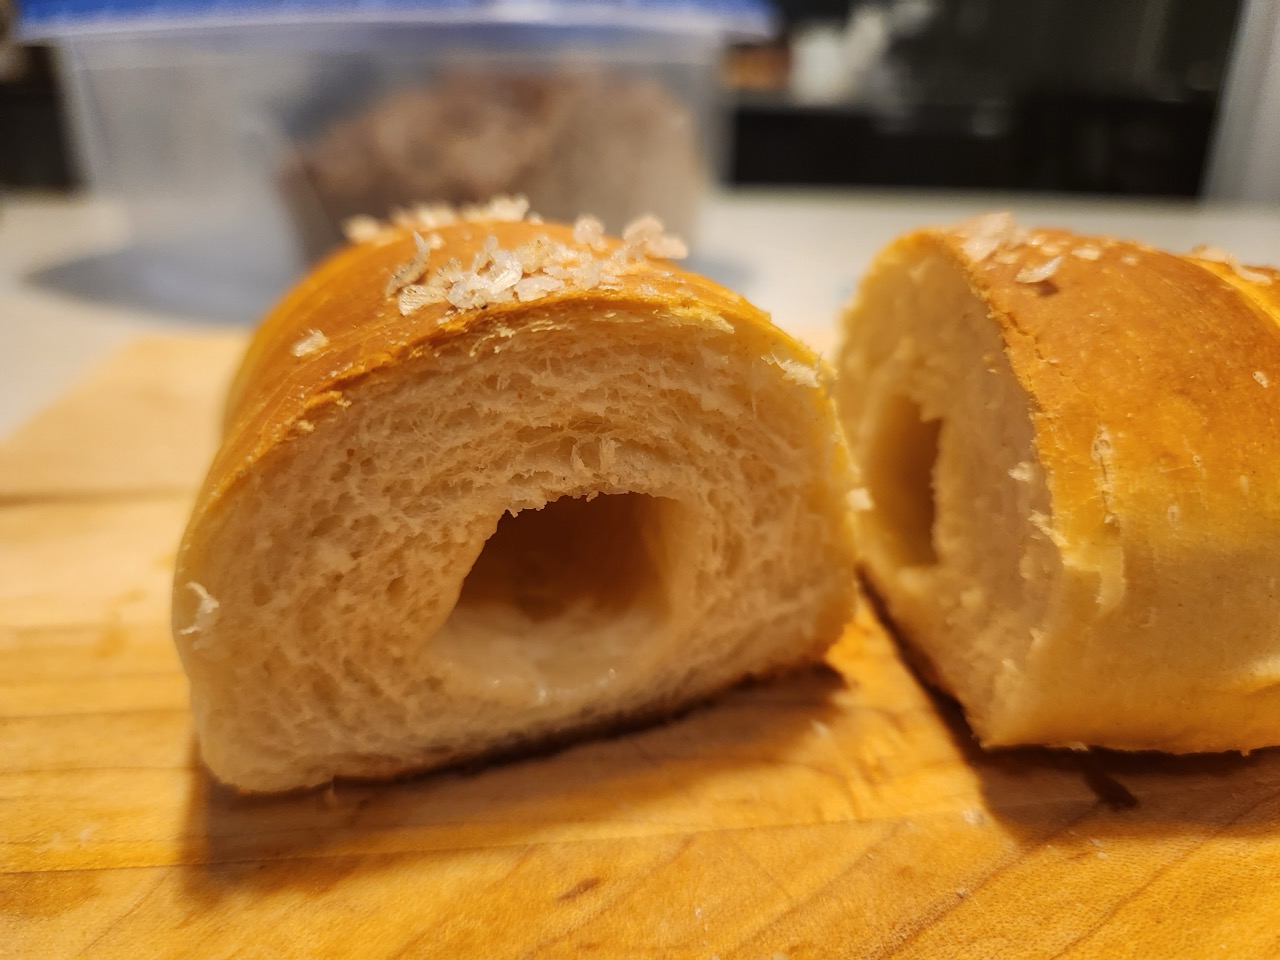
Shio pan, or salt bread, is almost like a cross between a buttery croissant and fluffy dinner roll. Originating in Japan (and since becoming very popular in Korea), the dough is rolled around a block of butter, which melts in the oven and fries the bottom of the bread — forming an incredibly crispy, buttery base.
Shio pan comes in many variations — hard crust and dense, soft crust and fluffy, fillings, etc. The version here uses a dough that is slightly enriched, producing a semi-hard crust and fluffy interior.
Cooking Schedule
INGREDIENTS
STEPS
-
Add flour, cornflour (if using) and water, and mix on low speed until well combined (about 3 minutes). Cover and autolyse for about 15-30 minutes.
-
Add the yeast, sugar, salt, and milk powder, and mix on low speed for 5 minutes. Add the butter, and mix on medium speed until the dough pulls away from the bottom of the mixing bowl and clumps around the dough hook. This may take 5-15 minutes, depending on the strength of the dough and the length of the autolyse.
-
Turn the dough out onto the counter — if the dough is still sticky, perform some slap and folds until just tacky. Dough temperature should be about 25ºC. Form the dough into a taught bowl, and place in a bowl to bulk ferment for around 80-100 minutes at 28ºC.
-
Turn the dough out onto the counter, and divide it into 6 pieces. Form each piece into a tight bowl, and leave to rest for 15 minutes for the gluten to relax.
-
Roll each bowl, pressing firmer on one end, to form a rough teardrop shape. Flatten it with your hand, and using a rolling pin, roll it into a long triangle — approximately 5cm wide at the base, and 40cm long.
-
Place a butter block at the base of the triangle, and fold the top edge over it. Continue rolling the dough down to the tip, lifting and pulling every so often to generate more tension. The butter doesn’t need to be completely sealed, but make sure it isn’t sticking out. Press the roll down on the tail.
-
Place the rolls in a dark, greased, non-stick pan4
-
Let the dough rise for approximately 60-75 minutes at around 28ºC, or until it passes the poke test. About 20 minutes before proofing is due to be finished, pre-heat the oven to 230ºC.
-
Spray each roll approximately 15-20 times with water, and sprinkle a line of finishing salt (such as Maldon) along each roll. Place the tray in the oven, and spray each side of the oven 15 times to generate more steam. Lower the oven temperature to 200ºC, and bake for 15-17 minutes or until deeply golden on both sides.
-
Remove from the oven and brush melted butter from the pan onto each roll. Serve and enjoy immediately.
NOTES
The ideal protein content for the flour should be around 12%. If this matches the flour you are using, there is no need to add any cornflour. Adapt the amount of cornflour as needed to hit around 12% protein. ↩︎If the kitchen is warm, use cooler water around 20ºC. In a cool kitchen, use water around 28-30ºC. ↩︎If milk powder is not available, replace the water with hi-lo (2%) milk. ↩︎Avoid using baking paper or silicone mats, as it will inhibit the bottom of the roll frying and achieving a crispy texture. Make sure you use a non-stick pan, otherwise the rolls will stick. ↩︎